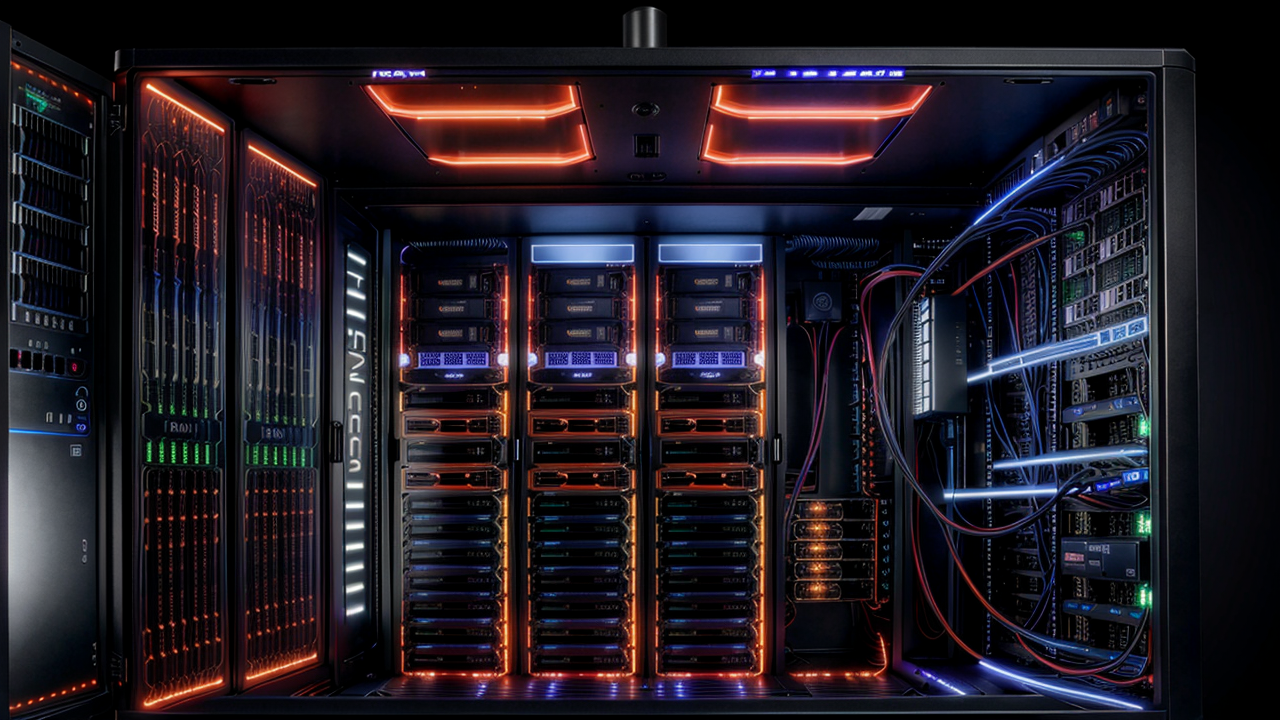
Plex has been slowly eating itself. Mandatory accounts, a streaming service nobody asked for, features gated behind Plex Pass, and a privacy policy that's gotten progressively worse. The home lab community noticed, and the migration to Jellyfin has accelerated sharply through 2025 and into 2026.
I made the switch eight months ago. I haven't looked back. This guide is the one I wish existed when I did — a complete walkthrough of running Jellyfin alongside Sonarr, Radarr, and Prowlarr inside Proxmox LXC containers, sharing a common media directory, with hardware transcoding working on Intel Quick Sync.
Why Jellyfin Won
Jellyfin is a hard fork of Emby from 2018 that went fully open source. It has no paid tier. No account required to use your own server. No telemetry you can't disable. The client apps are free everywhere — iOS, Android, Apple TV, Roku, Fire TV, smart TVs via the browser or native apps.
The feature gap with Plex has essentially closed. Hardware transcoding works. The mobile sync works. Multi-user with individual libraries and parental controls works. The web UI is clean and fast. If you're still on Plex because you're worried about losing features, spend an afternoon testing Jellyfin — you'll probably surprise yourself.
On the *arr side: Sonarr handles TV shows, Radarr handles movies, and Prowlarr is the indexer aggregator that replaced Jackett and Hydra for most setups. Together, they form a self-contained system that monitors your watchlist, grabs new releases, renames and organizes files, and notifies Jellyfin to update its library — automatically.
Architecture Overview
Here's the stack I'll walk you through:
/media/dev/dri passthrough)jellyfin, sonarr, radarr, prowlarrYou'll need a host with at least 16GB RAM and a reasonably modern CPU. For storage, plan on having dedicated drives for your media library — I'm running two WD Red Plus 8TB drives in ZFS mirror on the Proxmox host, exposed to the containers via bind mount.
Step 1: Set Up the Media Directory on the Proxmox Host
Before creating any containers, get your storage layout sorted. All containers will bind-mount into the same /mnt/media path on the host.
# On Proxmox host
mkdir -p /mnt/media/{movies,tv,downloads/complete,downloads/incomplete}
chown -R 1000:1000 /mnt/media
If you're running a ZFS pool, your path might look like /mnt/tank/media — adjust accordingly. The key is using a consistent base path across all containers.
For a proper NAS-grade setup under Proxmox, Seagate IronWolf Pro drives are worth the premium for always-on workloads. For a budget-friendly alternative, the WD Red Plus 4TB handles home lab write patterns well.
Step 2: Create the LXC Containers
I'll use the Proxmox community helper scripts for Jellyfin — they handle the dev/dri passthrough automatically. For the *arr stack, I create plain Debian 12 containers and install manually (more control, fewer surprises).
Jellyfin Container
# Run on Proxmox host — uses the community helper script
bash -c "$(curl -fsSL https://raw.githubusercontent.com/community-scripts/ProxmoxVE/main/ct/jellyfin.sh)"
The script will prompt for container ID, hostname, disk size, RAM, and cores. Recommended minimums:
After creation, verify /dev/dri is present in the container:
pct exec <CTID> -- ls /dev/dri
Should show: card0  renderD128
If you're running on a machine with an Intel CPU (10th gen or newer for best AV1 support), Quick Sync transcoding will work out of the box. The Beelink GTi14 Ultra with its Intel Core Ultra 9 185H is particularly capable here — the Xe GPU handles simultaneous 4K HEVC → H.264 transcode streams without breaking a sweat.
*arr Stack Containers
Create three Debian 12 LXC containers (unprivileged) for Sonarr, Radarr, and Prowlarr. I use 512MB RAM and 2 cores each — they're lightweight:
# Example for Sonarr — repeat with different IDs/names for Radarr and Prowlarr
pct create 201 local:vztmpl/debian-12-standard_12.7-1_amd64.tar.zst \
  --hostname sonarr \
  --memory 512 \
  --cores 2 \
  --net0 name=eth0,bridge=vmbr0,ip=dhcp \
  --storage local-lvm \
  --rootfs local-lvm:8 \
  --unprivileged 1
Step 3: Add the Shared Media Bind Mount
This is the part most guides skim over, and it causes 80% of the permission headaches. Do it right once.
For each container (Jellyfin, Sonarr, Radarr, Prowlarr), add the bind mount to /etc/pve/lxc/:
# Add to /etc/pve/lxc/200.conf (Jellyfin) mp0: /mnt/media,mp=/mediaAdd to /etc/pve/lxc/201.conf (Sonarr)
mp0: /mnt/media,mp=/media
Same for Radarr (202) and Prowlarr (203)
For unprivileged containers, you also need UID/GID mapping. Add this to each container's conf:
lxc.idmap: u 0 100000 1000
lxc.idmap: u 1000 1000 1
lxc.idmap: u 1001 101001 64535
lxc.idmap: g 0 100000 1000
lxc.idmap: g 1000 1000 1
lxc.idmap: g 1001 101001 64535
And on the host:
echo 'root:1000:1' >> /etc/subuid
echo 'root:1000:1' >> /etc/subgid
This maps UID 1000 inside the containers directly to UID 1000 on the host — so file ownership stays consistent across all containers and the host. No more permission denied errors from the *arr stack trying to move files into Jellyfin's library.
Step 4: Install Sonarr, Radarr, and Prowlarr
Inside each respective container:
Sonarr
apt update && apt install -y curl gnupg
curl -fsSL https://packagecloud.io/packages/sonarr/latest/ubuntu/jammy/Release.gpg | gpg --dearmor -o /usr/share/keyrings/sonarr.gpg
echo "deb [signed-by=/usr/share/keyrings/sonarr.gpg] https://packagecloud.io/sonarr/sonarr/debian/ bookworm main" > /etc/apt/sources.list.d/sonarr.list
apt update && apt install -y sonarr
systemctl enable --now sonarr
Sonarr runs on port 8989 by default.
Radarr
apt update && apt install -y curl
curl -L https://github.com/Radarr/Radarr/releases/latest/download/Radarr.master.linux-core-x64.tar.gz -o radarr.tar.gz
tar -xzf radarr.tar.gz -C /opt/
useradd -r -s /bin/false radarr
chown -R radarr:radarr /opt/Radarr
Create a systemd unit at /etc/systemd/system/radarr.service:
[Unit] Description=Radarr After=network.target[Service] User=radarr Group=radarr ExecStart=/opt/Radarr/Radarr -nobrowser -data=/var/lib/radarr Restart=on-failure
[Install] WantedBy=multi-user.target
systemctl daemon-reload
systemctl enable --now radarr
Radarr runs on port 7878.
Prowlarr
Same pattern as Radarr but grab the Prowlarr release. It runs on port 9696. Prowlarr syncs your indexer configs to both Sonarr and Radarr automatically — add your indexers once in Prowlarr, and they propagate everywhere.
Step 5: Wire Everything Together
Once all four services are running, the connection flow is:
Prowlarr → Sonarr + Radarr: In Prowlarr, go to Settings → Apps → Add Application. Add Sonarr and Radarr using their container IP addresses and API keys. Prowlarr will push indexer configs to both.
Sonarr/Radarr → Download Client: I use qBittorrent in its own LXC (port 8080). In Sonarr and Radarr, Settings → Download Clients → Add qBittorrent. Point to the container IP. Set the download path to /media/downloads/complete.
Sonarr/Radarr → Jellyfin notifications: In Sonarr, Settings → Connect → Add → Jellyfin. Enter your Jellyfin container IP, port 8096, and an API key from Jellyfin's dashboard (Dashboard → API Keys). Now when Sonarr imports a new episode, it pings Jellyfin to scan the library immediately.
For hardware, a dedicated download client benefits from a fast NVMe for the incomplete downloads buffer. The Samsung 990 Pro 2TB is the current top pick for write-heavy workloads, though the WD Black SN850X is a solid alternative at a lower price point.
Step 6: Configure Jellyfin
First-time setup at http://:
1. Create your admin account
2. Add libraries pointing to /media/movies and /media/tv
3. Enable hardware acceleration: Dashboard → Playback → Transcoding → Select Intel QuickSync (QSV)
4. Set the transcode temp directory to a fast local path (not your media drive)
For remote access without opening ports, Jellyfin works perfectly behind Tailscale — add the Jellyfin LXC to your tailnet, and you're accessing it over an encrypted tunnel from anywhere. Pair this with the Jellyfin mobile app (free on iOS and Android) and you have a complete streaming setup.
If you want a proper reverse proxy in front for a custom domain, Caddy handles this elegantly:
jellyfin.yourdomain.com {
    reverse_proxy 192.168.1.200:8096
}
Caddy auto-provisions Let's Encrypt certs and handles HTTPS — no configuration needed beyond this.
Hardware Recommendations for This Stack
Running all four services (Jellyfin, Sonarr, Radarr, Prowlarr) plus qBittorrent requires a capable host. Idle RAM usage is about 3-4GB total. Under a 4K transcode, CPU usage spikes but Quick Sync offloads most of it from the CPU cores.
For a dedicated media server build:
Gotchas and Things I Wish I Knew
Hardlinks matter. Configure Sonarr and Radarr to use hardlinks instead of copies when importing from the download directory. If your downloads and media library are on the same filesystem, hardlinks mean a file import is instant and doesn't double your disk usage. To make this work, your download path and media path must be on the same volume — which is why I use /media/downloads and /media/movies both under /mnt/media.
The *arr stack naming conventions are strict. Sonarr and Radarr use specific folder and file naming formats that Jellyfin needs to parse correctly. I use the TRaSH Guides naming conventions — they've been battle-tested and work perfectly with Jellyfin's metadata scrapers.
Jellyfin's metadata scrapers need time. On first library scan with thousands of items, Jellyfin goes out to TheMovieDB and TheTVDB to pull metadata and artwork. Give it a few hours. Subsequent updates are fast.
LXC vs Docker: I went with LXC containers rather than Docker-in-LXC because I'm already on Proxmox, and LXC has less overhead. If you're more comfortable with Docker Compose, you can absolutely run this entire stack as compose services in a single LXC — there are solid community compose files for the full arr stack. The architecture is the same; the tradeoffs are operational preference.
> Using AI to manage your workflow? If you're using Claude, I put together a Claude Prompt Pack — 50 bilingual (EN/ES) prompts for productivity, coding, and more. $17, instant download.
Final State
After an afternoon of setup, you end up with:
/media directory that all services share cleanlyThe total running cost after hardware is zero dollars per month. No Plex Pass at $120/year. No streaming subscription for a library you're already paying for in other ways. Full control over your data, your metadata, and who has access.
That's the part Plex could never actually offer.
---
Disclosure: This post contains affiliate links. If you purchase through these links, I may earn a small commission at no extra cost to you.